Do you like this blog? Do you want to start your own?
I have always wanted to start a blog, and was looking for something with the following attributes:
- Free: I didn’t want to be paying for a blog, so Posthaven was out.
- Open: I wanted complete control, so Medium and Svbtle were out.
- Easy: I didn’t want to spend too much time pixel pushing
For the longest time I assumed if I had fine-grain control it would mean self hosting(not free) and fiddling with pixels(takes time). A couple weeks ago I came across the combination of GitHub Pages and Jekyll which would allow me to run a fully customizable static site for free off of GitHub! Is there any blogging platform that puts your posts under a version control system as beautiful as git?
In the spirit of sharing and to save everyone a bunch of time, I’ve tried to document what I’ve done to get this site up and running on OSX.
Part 1: GitHub
GitHub is a service for hosting code repositories. You can host public repos here for free. We will be using a GitHub feature to host our new blog.
- Create a “user or organization site” by following the instructions here.
- DO NOT set up a “project site”.
- You can stop after you complete the step “Clone the repository”.
Part 2: Jekyll
Jekyll takes Markdown, HTML/CSS and some simple Ruby based templating to generate blog sites. Don’t worry if you don’t know Jekyll or Markdown or Ruby.
- If you don’t have ruby, you can get it here.
- If you don’t have the gem package manager you can get it here.
- Install Jekyll by running
gem install --user-install bundler jekyllinsructions.
Part 3: WEB 2.0
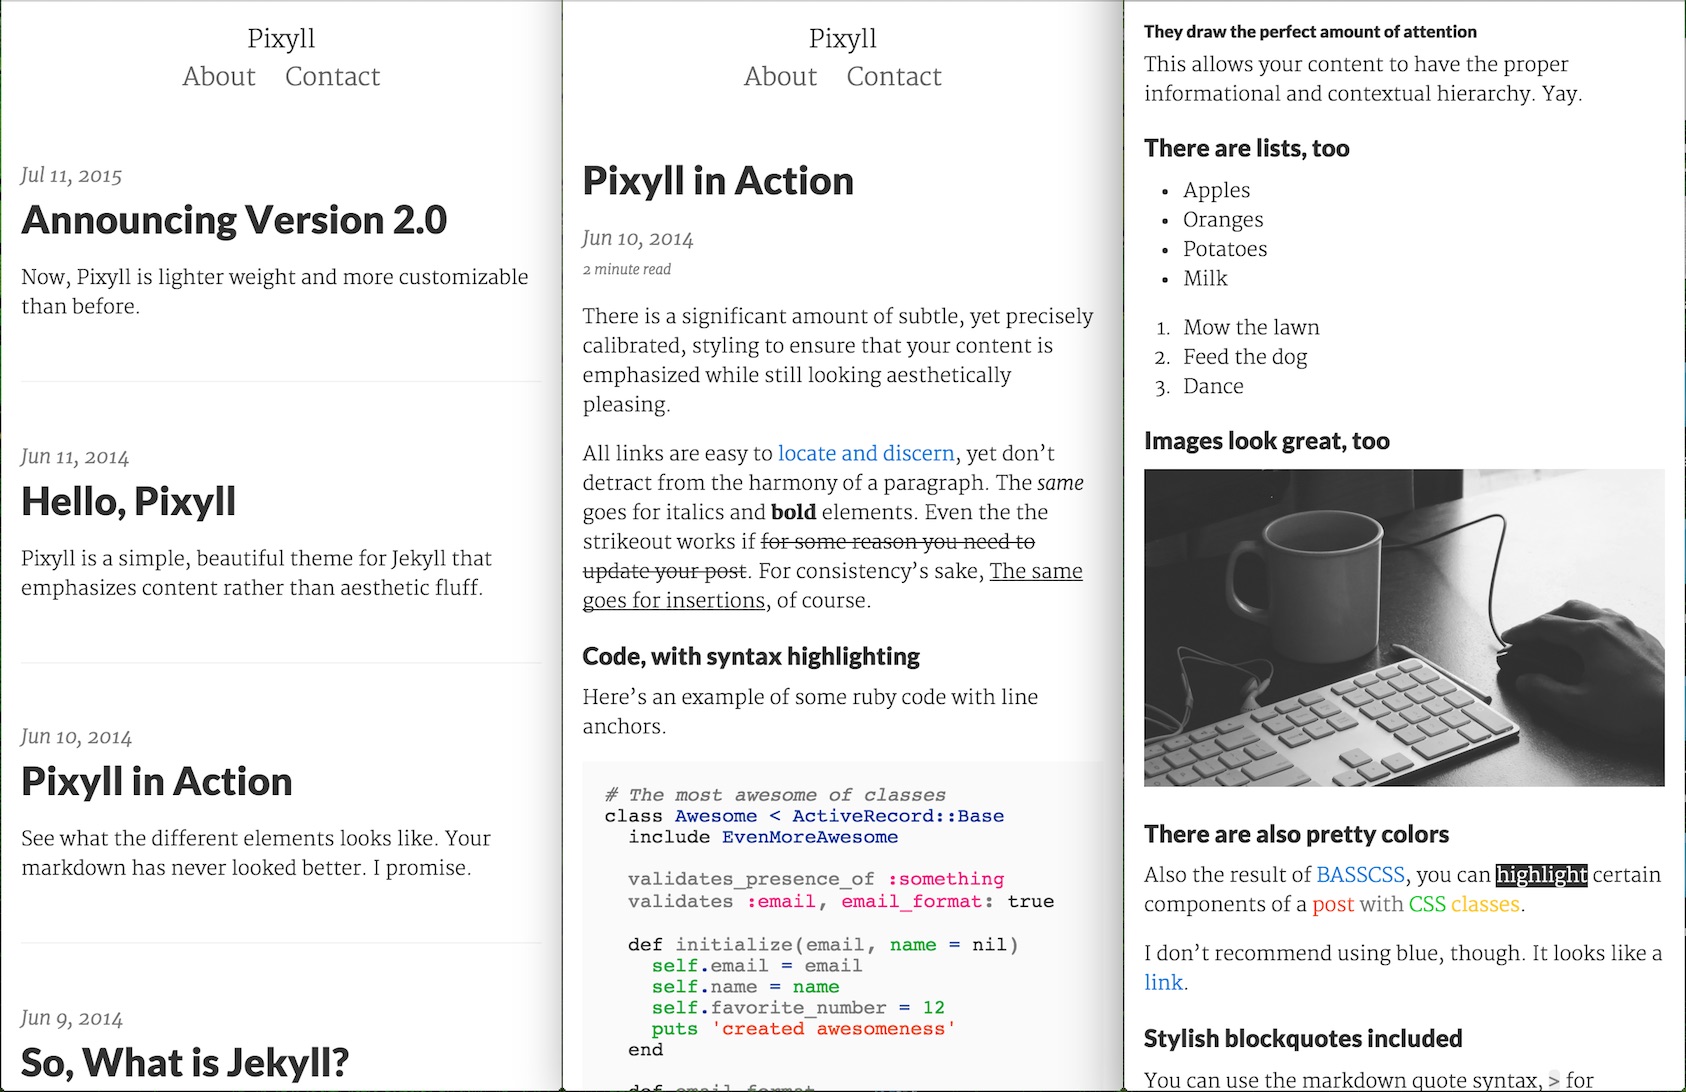
I found the default Jekyll template a bit bland so I went and found a theme that I liked as a starting point.
- Pick a theme. I choose Pixyll because it was clean and mobile optimized.
- Download it straight into your empty GitHub repo from Part 1.3.
- If you want to view a local hosted version navigate to your repo run
jekyll serveand then go tohttp://127.0.0.1:4000/in a browser
Part 4: Customize
Here is a list of the things that I did to get my site up and running:
- go to the
_config.ymlfile and drop your own information in - customize footer.html and header.html in the
_includes/folder - move everything in
_posts/to_drafts/(study the template demos later) - create a new post in
_posts/with the standard naming convention (YYYY-MM-DD-name-of-post)